When people search on Google Maps or Google search, photos often speak louder than words. A well-chosen image can show exactly what words can’t: the look of a cozy cafe, the color of a meal, or the vibe of a place.
That’s why learning to add photos to Google reviews matters. It helps your feedback stand out and gives potential customers a better idea of your experience.
Whether you’re a customer sharing memories or a business owner improving your online reputation, these steps make posting photos easy and effective.
In this guide, you’ll learn how to add photos to Google reviews step by step on your phone and PC. You’ll also learn how to edit or remove images, resolve upload issues, and understand what to do if a photo violates Google’s policies.

Show your best reviews with photos
Collect photo reviews, manage them easily, and display them beautifully on your website.
Start Free →How to add photos to a new Google Review
Adding a photo to your review makes it more helpful for others. It shows exactly what you experienced from food presentation to the place’s vibe.
Here’s how you can do it quickly on both phone and PC:
On Android (via Google Maps app)
If you’re using an Android phone, you can post photos through the Google Maps app. The process only takes a few clicks, and it helps your review look more genuine and complete.
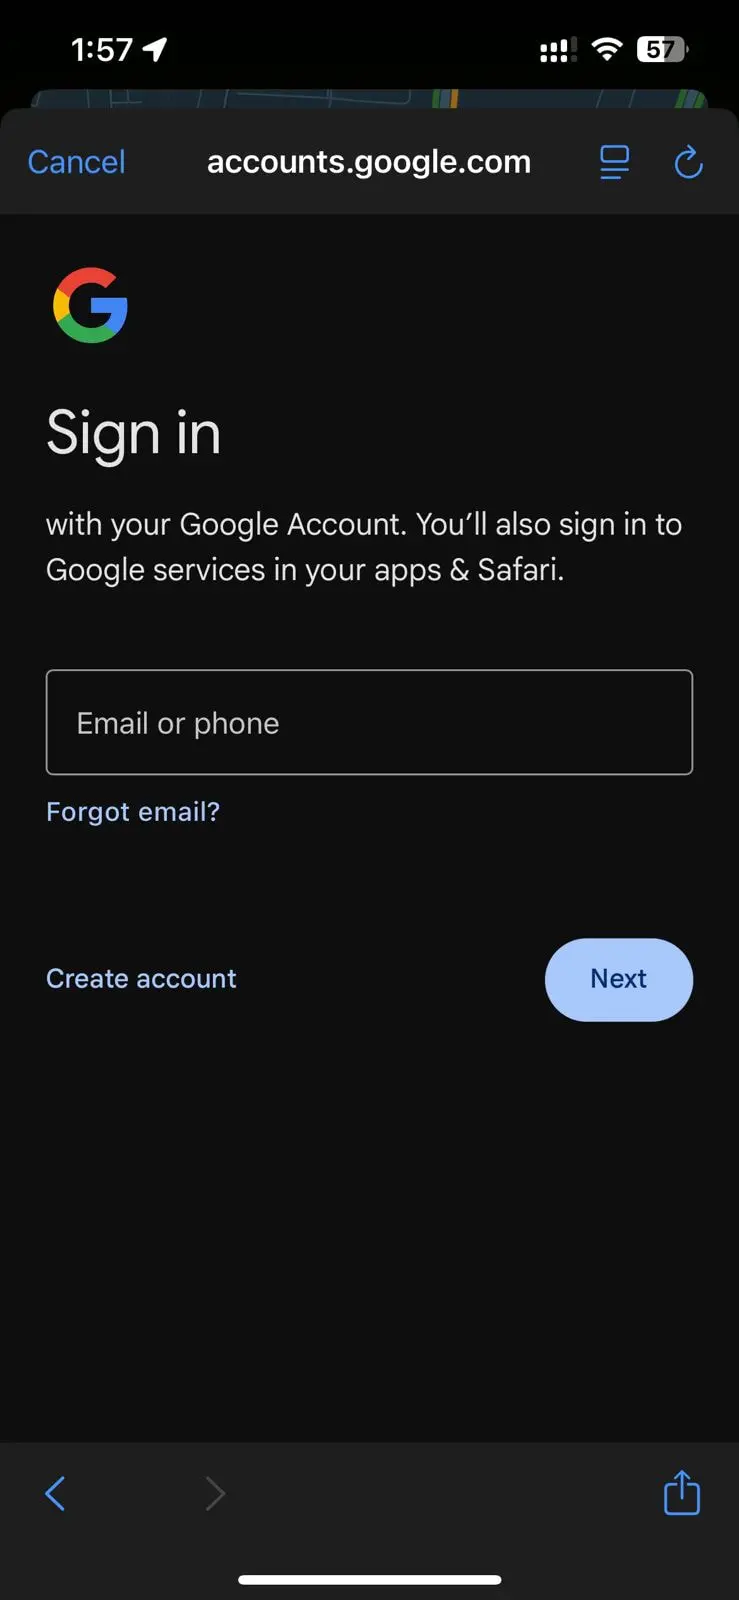
Step 1: Sign in to your Google Account
First, make sure you’re signed in to your Google account. This is needed to use Google Maps and write reviews.
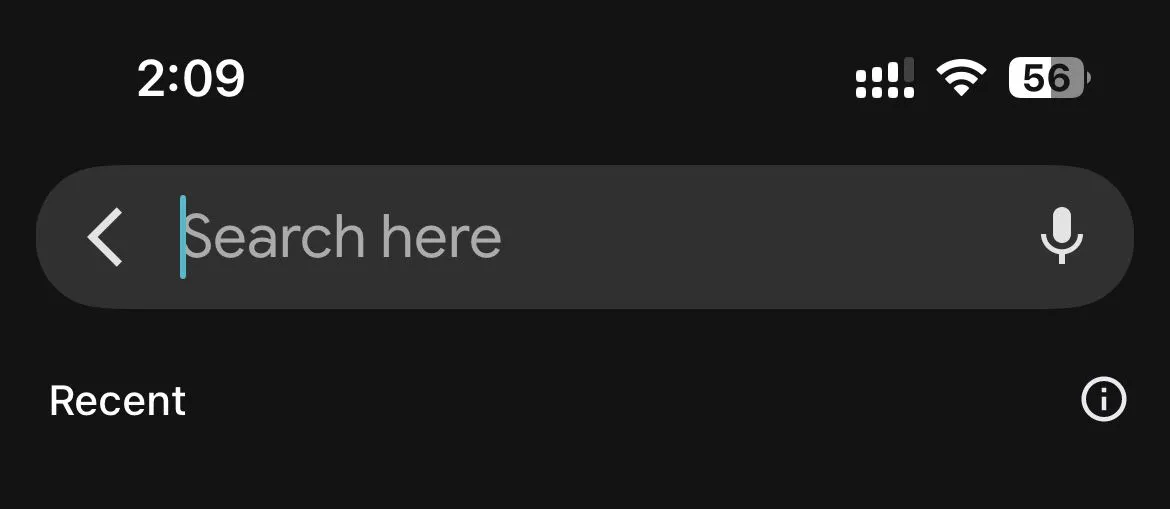
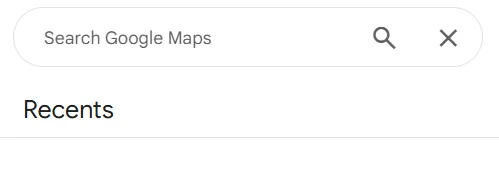
Step 2: Search for the Business
In the search bar at the top, type the business name you want to review.
Step 3: Start Writing Your Review
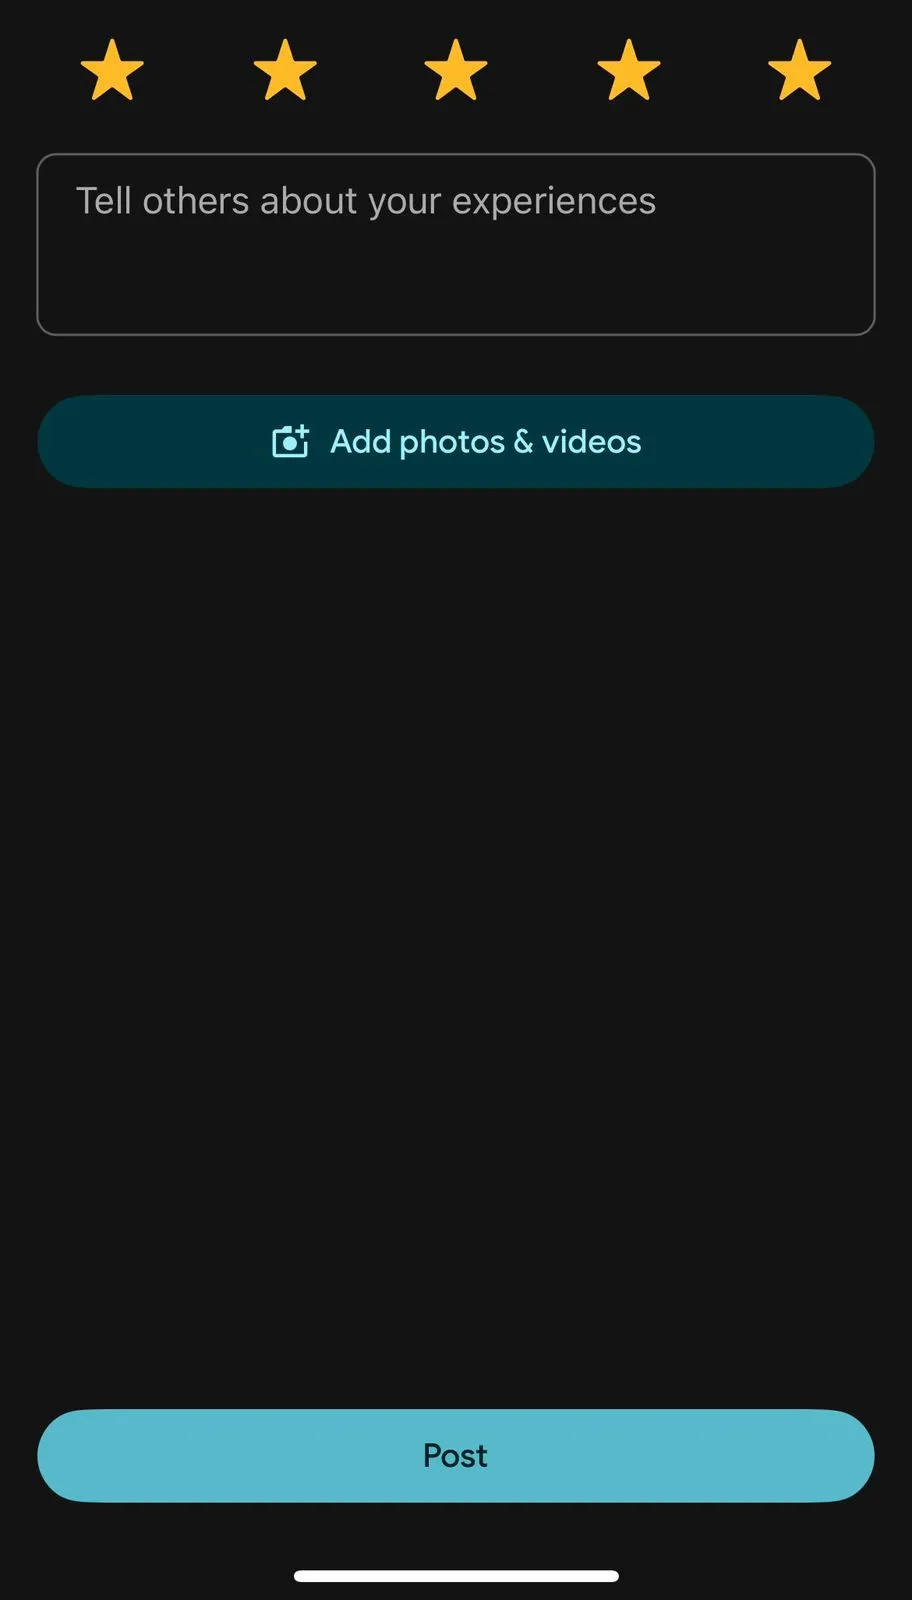
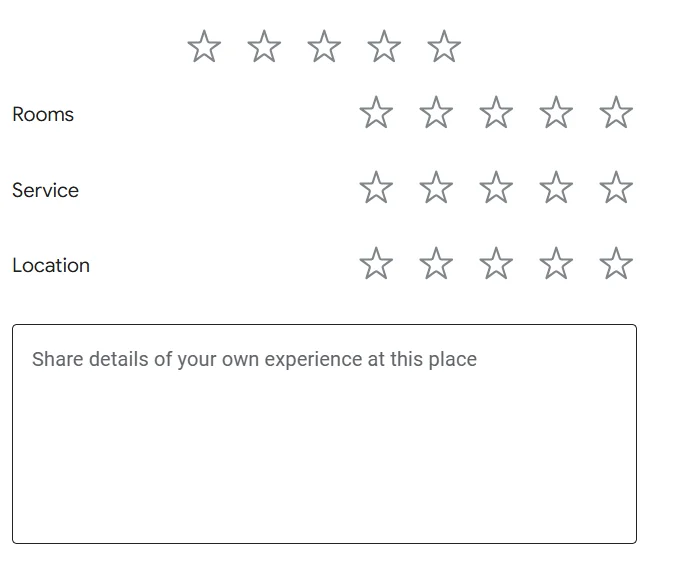
Scroll down the business page until you see the “Reviews” section, and you will see an empty star rating. Tap on a star (1 to 5) to rate the business and bring up the text box where you can write a review.

Step 4: Find the ‘Add Photos’ Button
Look for the little camera icon or a button that says “Add photos and videos” just above the text box where you are typing.
Step 5: Choose Photos from Your Gallery
Tapping the camera icon will open your phone’s gallery. Select the photos you want to include; you can usually select up to 10 photos in one go. Make sure they are high-quality images that truly reflect your experience.
Step 6: Post Your Complete Review
Finish typing your compelling description, make sure your star rating is correct, and then hit the “Post” or “Publish” button. Congratulations! You’ve just shared valuable feedback, including photos, on Google reviews, making your own review much more helpful.
On desktop / PC (via browser)
If you prefer using a computer, you can still attach photos to your Google review. The desktop version gives you the same options as a mobile device, just with drag-and-drop ease.
Step 1: Go to Google Search or Google Maps
Open your favorite web browser (like Chrome, Firefox, or Edge) and search for https://www.google.com/maps/

Step 2: Search for the Business
Type the full business name into the search bar. When the search results appear on the left side, click on the business’s information box to go to its business profile.
Step 3: Start the Review Process
On the business page, look for the “Write a review” button. It’s often a brightly colored button near the star rating. Clicking this will open the review window.
Step 4: Select Your Rating and Find the Upload Area
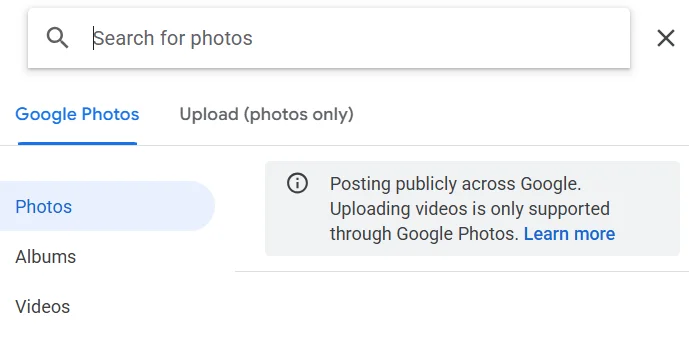
Click to give your star rating. The window will expand to include a text box and the option to add photos or videos. Look for the camera icon or a button labeled “Add photos.”

Step 5: Upload Pictures from Your Computer
Click the “Add photos” button. A window will open, letting you browse your computer’s folders. You can choose photos from your desktop or any folder. You can also sometimes drag and drop photos directly into the upload area.
Step 6: Review and Post
Write your written reviews to go along with the visual evidence. When everything is perfect and you are sure you follow Google’s guidelines, hit the “Post” button. Your photo reviews are now live, helping the local business with its local SEO efforts.

How to add photos to an already posted review
Forgot to add a photo earlier? No problem.
Google lets you edit your existing review and upload pictures anytime to make it more engaging.
Here’s how to add photos to your Google review you already posted:
On mobile
If you’re using your mobile device, Google Maps is still your best friend for editing an existing Google Review. This method ensures you can instantly add a photo using your phone’s gallery to your previous feedback, enhancing your contribution.
Step 1: Open Google Maps and access your Google profile
Start by using your mobile device to open Google Maps. Tap your small profile picture, which is usually found in the top left corner or top right of the screen.
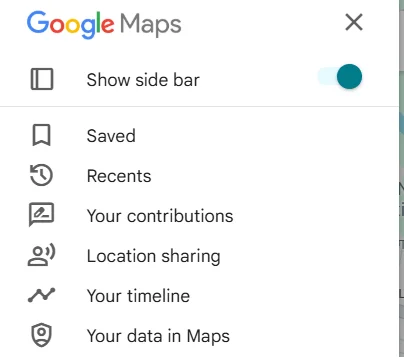
Step 2: Go to “Your Google Profile” or “Your Contributions”
From the menu that appears, tap on “Your Google Profile” or “Your Contributions.” This area shows you everything you’ve added to Google Maps reviews, including your own review.

Step 3: Find the Review to Edit
Scroll down until you find the Google review you want to update.
Step 4: Tap the Three Dots to Edit
Next to your Google reviews, you will see a three-dot icon. Tap on these three dots, and the menu will pop up. Select “Edit Review.”
Step 5: Add Your Photo
The edit review screen will look very similar to the new review screen. Look for the camera icon or the “Add photos and videos” button. Tap it, choose the picture you want from your photo gallery, and it will be attached.
Step 6: Save the Changes
Once the photo is added, hit the “Post” or “Save” button to update your existing Google review. The new picture is now part of your feedback, giving potential customers a much clearer picture.
Show your best reviews with photos
Collect photo reviews, manage them easily, and display them beautifully on your website.
Start Free →On PC / Browser
Editing an existing review on a PC is easy. Many people prefer this because it allows them to choose a picture from a larger file collection or take more time to write a compelling description.
Step 1: Go to Google Maps and Log In
https://www.google.com/maps/. Make sure you are logged in to the same Google account you used to leave reviews.
Step 2: Access Your Contributions
In the top left corner, look for the main menu icon (sometimes called a hamburger menu, with three horizontal lines). Click it, and then click on “Your Contributions.”
Step 3: Navigate to Your Reviews
In the “Your contributions” section, click on the “Reviews” tab.
Step 4: Find and Edit the Review
Scroll to the existing Google review you want to change. Next to your name, you will see a three-dot icon. Click it, and select “Edit review” from the menu that drops down.
Step 5: Use the “Add Photos” Feature
Just like before, the review window will appear. Look for the camera icon or the “Add photos” option. Click it, and then you can select photos from your computer to upload and add a photo to your feedback.

Step 6: Publish the Update
After adding your picture, make sure you click the “Post” or “Publish” button to save your changes. Your updated Google review photos will now be visible to other users in the search results.
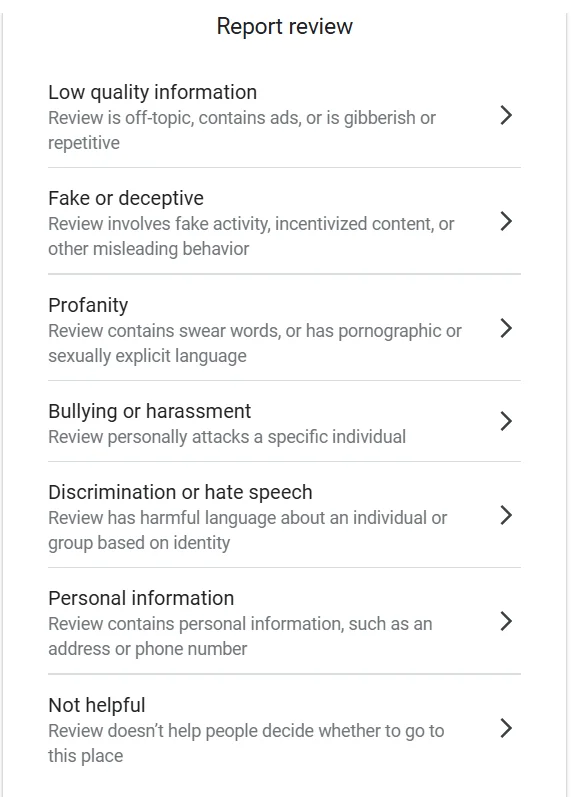
How to remove or replace a photo from your review
Sometimes, you might want to swap out a blurry photo or delete photos that don’t fit. The good news is that editing or replacing images on Google reviews is simple and quick.
Here’s how:
- Go to the review (via phone or PC) using the steps above.
- In Edit review mode, the images you uploaded will show as thumbnails.
- Tap or click the photo you want to remove. Look for a trash icon or “Remove” option.
- If you want, you can then add a photo (the same process as before) to replace it.
- Save or update the review.
Google may take a little time before it reflects the change.
4 Common issues & troubleshooting
Even though the process is designed to be simple, sometimes things can go wrong when you add pictures to Google reviews. When you are posting valuable content, like photo reviews that offer social proof to potential customers, running into technical problems can be frustrating.
Here are common problems and fixes:
1. “Add photos” button not appearing
Ensure you’re signed into your Google account. If the issue continues, try restarting the app or browser.
- You may be looking at a business where photo uploads are restricted.
- The version of Google Maps or your app might be outdated; update your app.
- The review window might be collapsed, scrolled or expanded to see the icon.
2. Photos disappear after posting
Check your internet connection. If it’s unstable, the upload might not complete successfully.
- Google sometimes delays showing images; wait a few minutes or hours.
- If a photo violates Google’s review policy (blurry, irrelevant, or explicit), it may be removed.
3. Upload fails (file too large, wrong format)
Ensure your photo meets Google’s requirements:
- File size: Under 5 MB
- File format: JPG or PNG
- Resolution: At least 720px on the shortest side
4. Permissions & connectivity issues
Check if the Google Maps app has the necessary permissions to access your photos.
- On mobile, the Maps app needs permission to access your photos/camera and check your phone settings.
- If your network is weak or disconnected, the upload may fail. Try Wi-Fi.
- Clear app cache (on Android) or reload the browser (on PC) and try again.
When you can’t add a photo (or business side limits)
While the feature to add photos to Google reviews is completely free and available to almost everyone, there are a few rare cases where the feature might be unavailable.
The main reason a customer cannot add a photo is usually related to what they are trying to review:
- The business may have flagged that it does not accept image uploads (rare).
- The business category might disallow images in certain regions.
- The Google Business listing might be suspended or under review, which limits edits.
- Some online reviews may be locked (especially very old ones or ones that Google deems final).
- If your photo violates Google’s content policies (explicit content, copyrighted, etc.), Google will block it.
If you can’t add a photo now, try again later or contact Google support.
How can businesses remove fake Google review images?
A serious concern for any business owner or digital marketing professional is dealing with fake, misleading, or undesirable photos posted by users with bad intentions, sometimes through negative reviews.
Here’s what you can do:
- Flag Photo: In the review with the photo, click the three dots and select ‘Flag as Inappropriate Photos.’
- Respond Publicly: Write a thoughtful reply acknowledging the issue. That shows other viewers you care about your business reputation.
- Contact Google Business profile Support: Use the Google Business dashboard to request removal if the image violates Google’s policies.
- Monitor Reviews Routinely: Regularly check new reviews and images so you can act fast on something bad.
- Encourage customers to Post Pictures: Genuine images will drown out fakes and strengthen your online reputation.
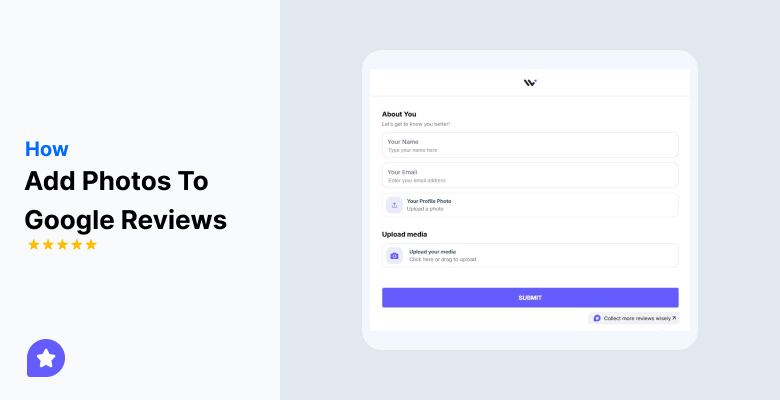
How to add Google review images to your website?

To add Google Review photos to your website with WiserReview, start by creating a custom widget in your WiserReview account. Then, use a custom HTML block in your website editor to embed the generated code.
Steps to add Google Review Images with WiserReview:
- Generate your Widget Code: Create and customize your Google review widget in your WiserReview dashboard.
- Access Your Website Admin Panel: Log into your website’s backend (like WordPress).
- Select the Page or Post: Choose where you want to add the Google reviews.
- Add a Custom HTML Block: Find the option to add a new block and select “Custom HTML.”
- Paste the Embed Code: Insert the code from WiserReview into the HTML block.
- Save and Publish: Preview the page to check if the widget looks correct, then save and publish your changes.
Show your best reviews with photos
Collect photo reviews, manage them easily, and display them beautifully on your website.
Start Free →3 Tips to post better photo reviews
If you want your Google review photos to be helpful for other users and highlight features of the local business, you need to think about what makes a good picture.
1. Focus on Clarity and Relevance (High-quality images)
Always aim for high-quality images that are in focus, well-lit, and directly related to your experience.
- A blurry, dark picture won’t help potential customers.
- If you’re reviewing a coffee shop, take a clear photo of the coffee or the atmosphere.
- Google prefers clear, relevant images, which are less likely to be removed.
- Make sure your picture enhances your description.
2. Capture the Key Experience, Not Just the Sign
Focus on the product, service, or the store’s atmosphere instead of just taking a picture of the front sign. People can easily see the store’s cover photo on its business profile; they want to know about your experience.
- If you loved a specific dish, use it as the main cover photo in your review.
- It helps the business owner showcase what makes them special and encourages more customers to visit.
3. Combine Multiple Photos for a Full Story
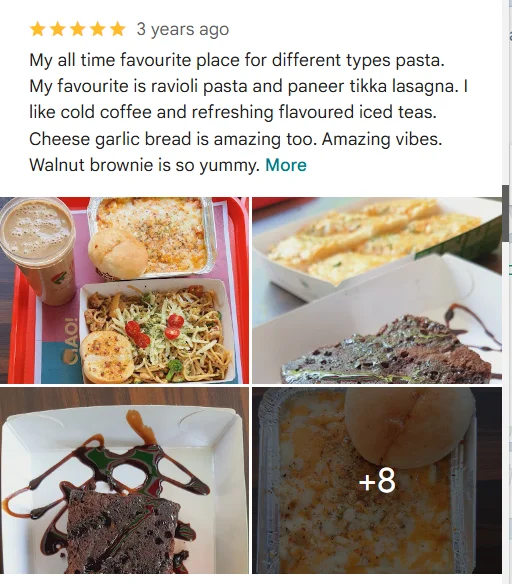
When adding photos to Google reviews, use the option to upload multiple pictures to share a fuller story.
- Choose one photo for the outside, one for the inside, and one for the product or service.
- Select photos that go well together and support your written feedback.
Wrap up
Photos make Google Reviews stronger and more trustworthy. Whether you use your pc or phone, adding images is usually just a few clicks. You can also edit, replace or remove photos later.
If you own a business, handling fake photos quickly and using tools like WiserReview to show images on your site helps your online reputation and brings more trust from potential customers.
Frequently asked questions
Yes, you must have a Google account to leave a review and add photos. If you don't have an account, you need to create one first.
Photos should appear almost instantly after you submit your Google review, although it may take a few minutes for them to refresh on Google Maps.
You can upload up to 10 photos per review. Make sure they are meaningful and enhance your feedback.
Yes, any photos added to Google reviews are public and can be viewed by anyone browsing that business on Google.