This guide walks you step‑by‑step through installing WiserReview on BigCommerce, configuring settings, importing reviews, and displaying them.
Prerequisites
- A BigCommerce store with admin access.
- A WiserReview account.
- Basic familiarity with BigCommerce store admin and theme editing.
Step 1: Install the WiserReview App
1. Log in to your BigCommerce admin panel.
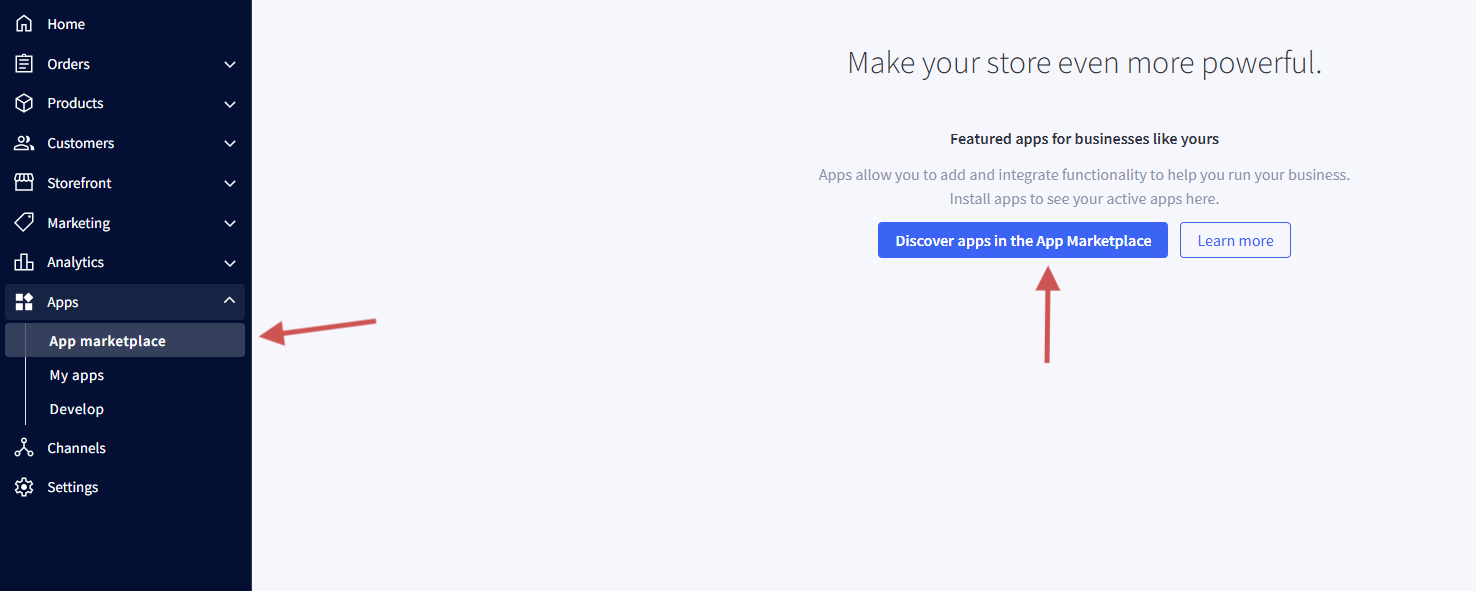
2. Go to Apps in the left sidebar.
3. Open App Marketplace.
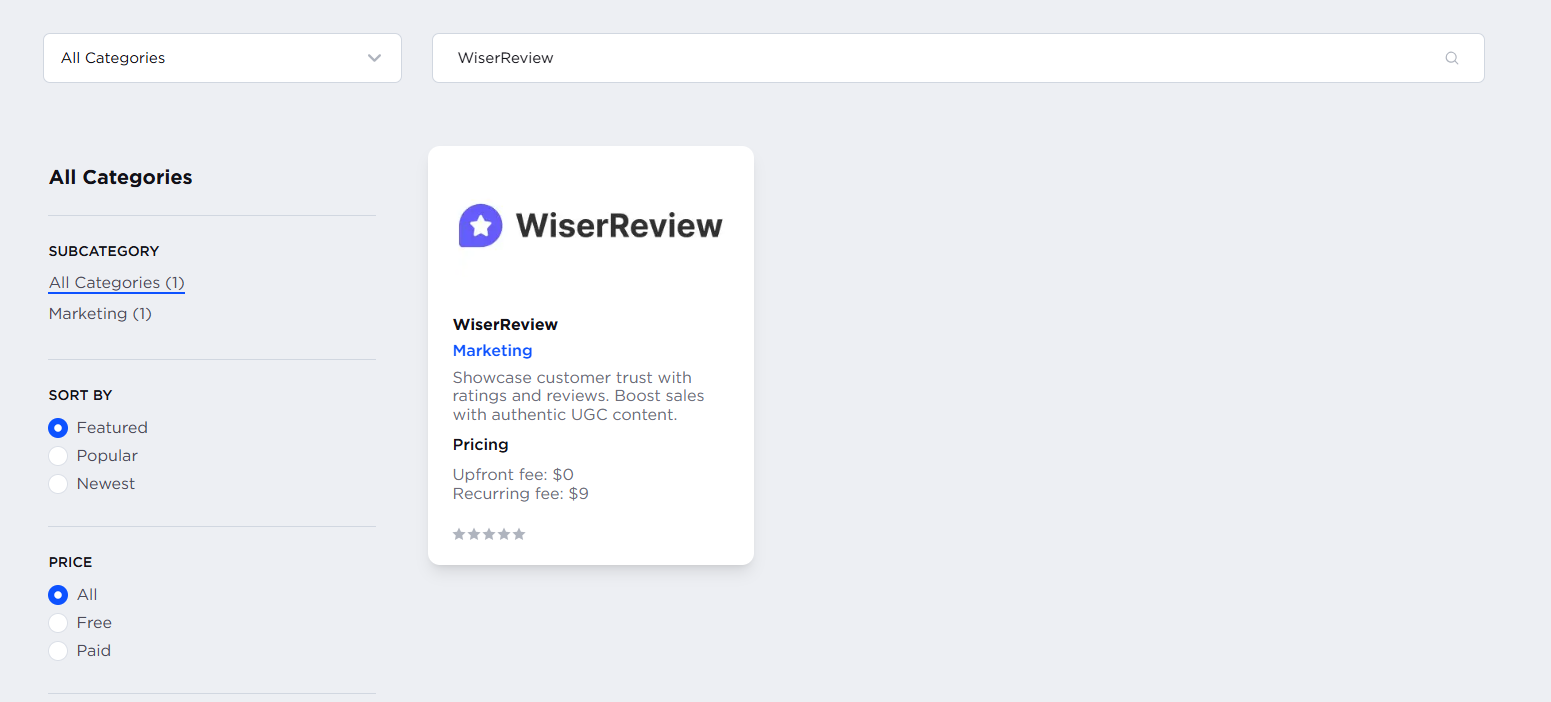
4. Search for WiserReview.

5. Click on WiserReview and then click Install.
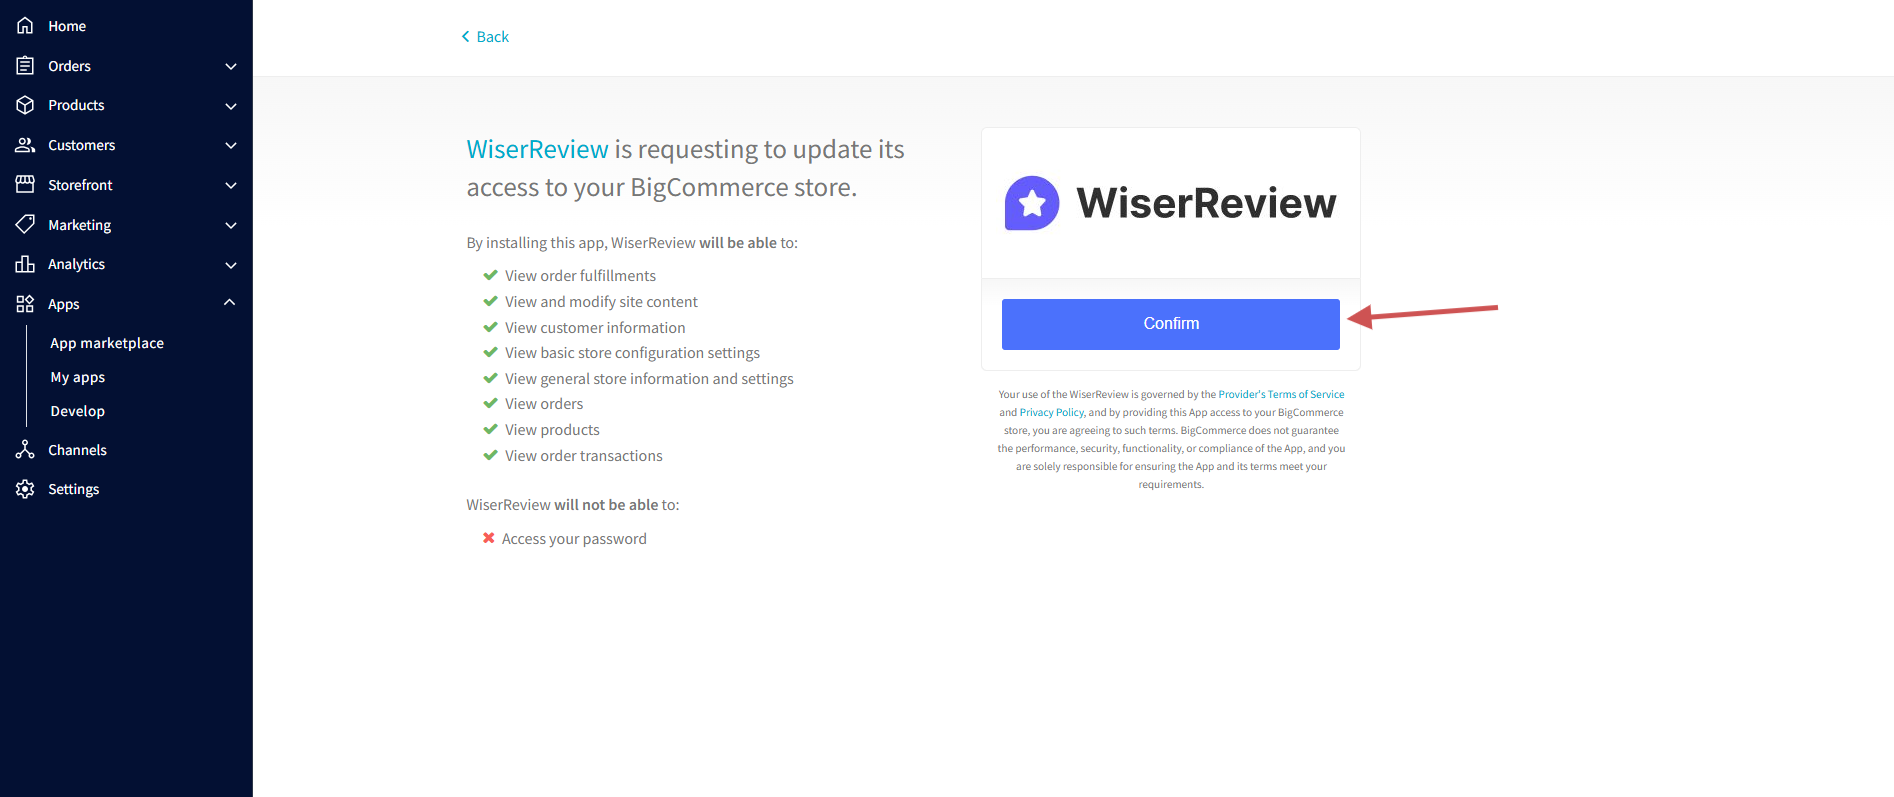
6. Accept permissions (access to orders, products, customer info). Confirm installation.
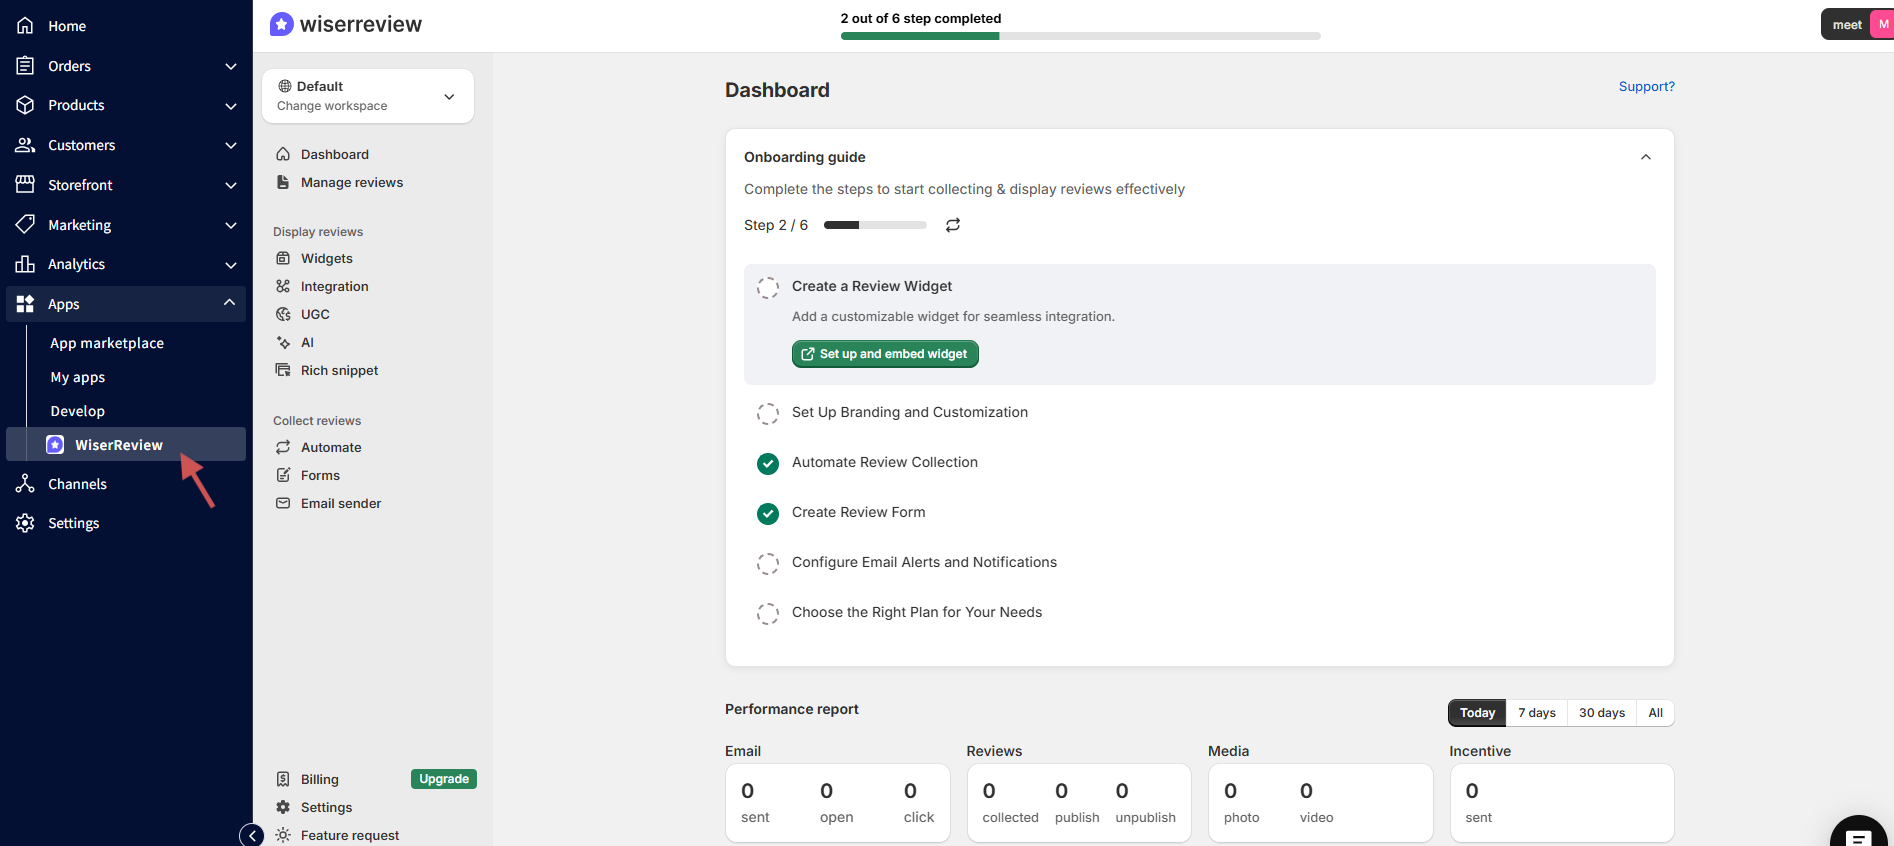
After installation, you’ll be redirected to your WiserReview dashboard.
Detailed guide: how to install Wiserreview for Bigcommerce store
Step 2. Import Reviews from Existing Platforms
If you already have reviews from platforms like Judge.me, you can import them into WiserReview.
Steps:
-
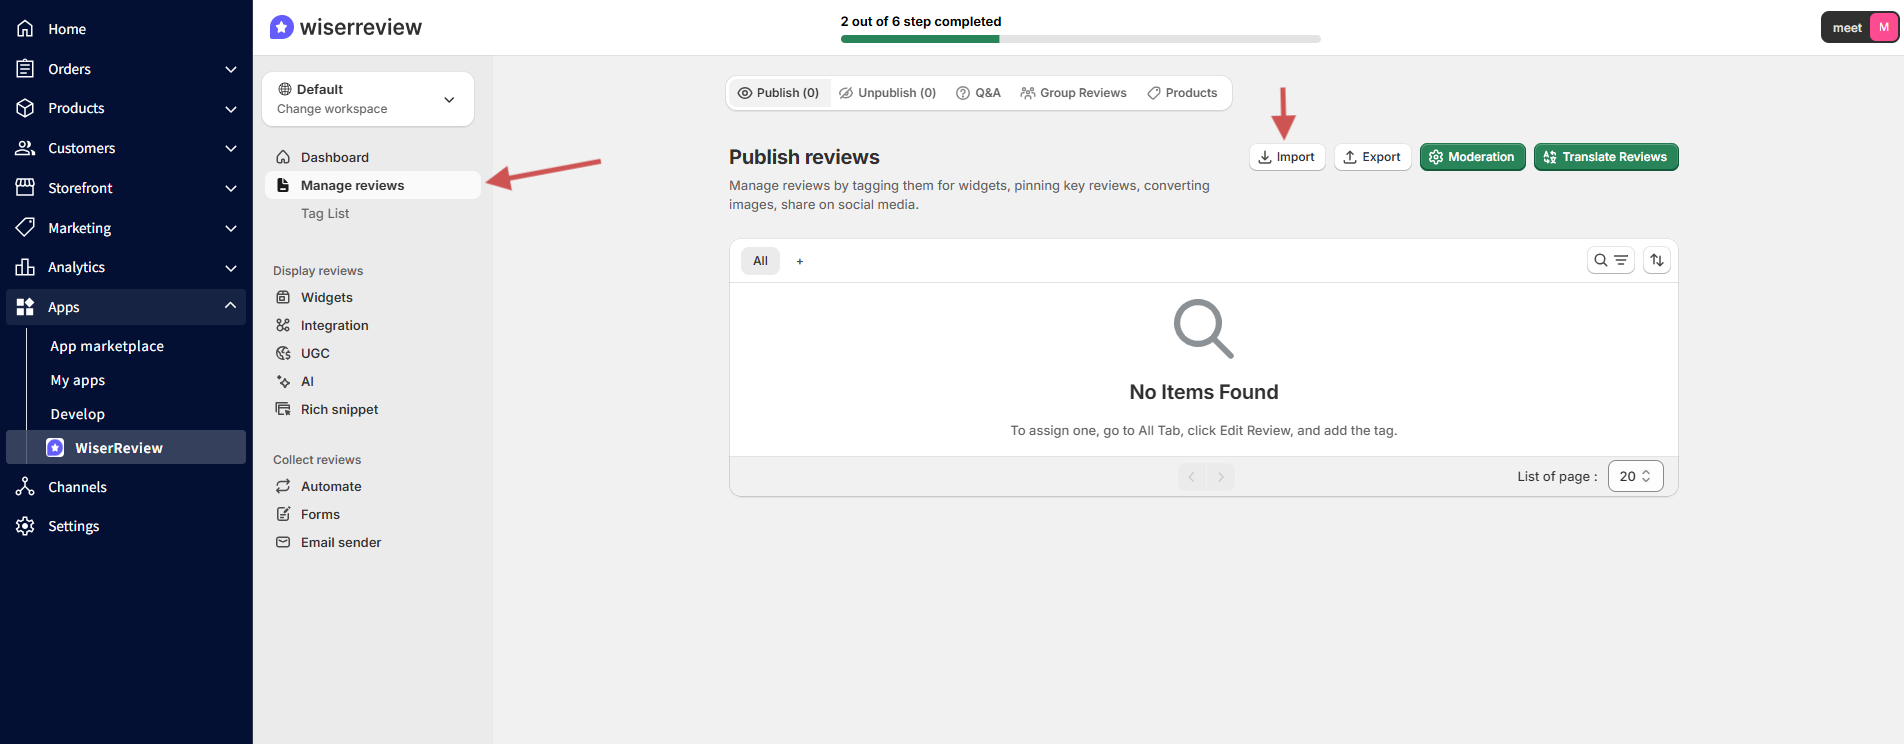
Go to Manage Reviews → Import Reviews.
-
Select the source platform (e.g., Judge.me).
-
Upload your review CSV file.
-
Map columns and confirm import.
Detailed guide: Import reviews from other platforms
Step 3. Automation Campaign
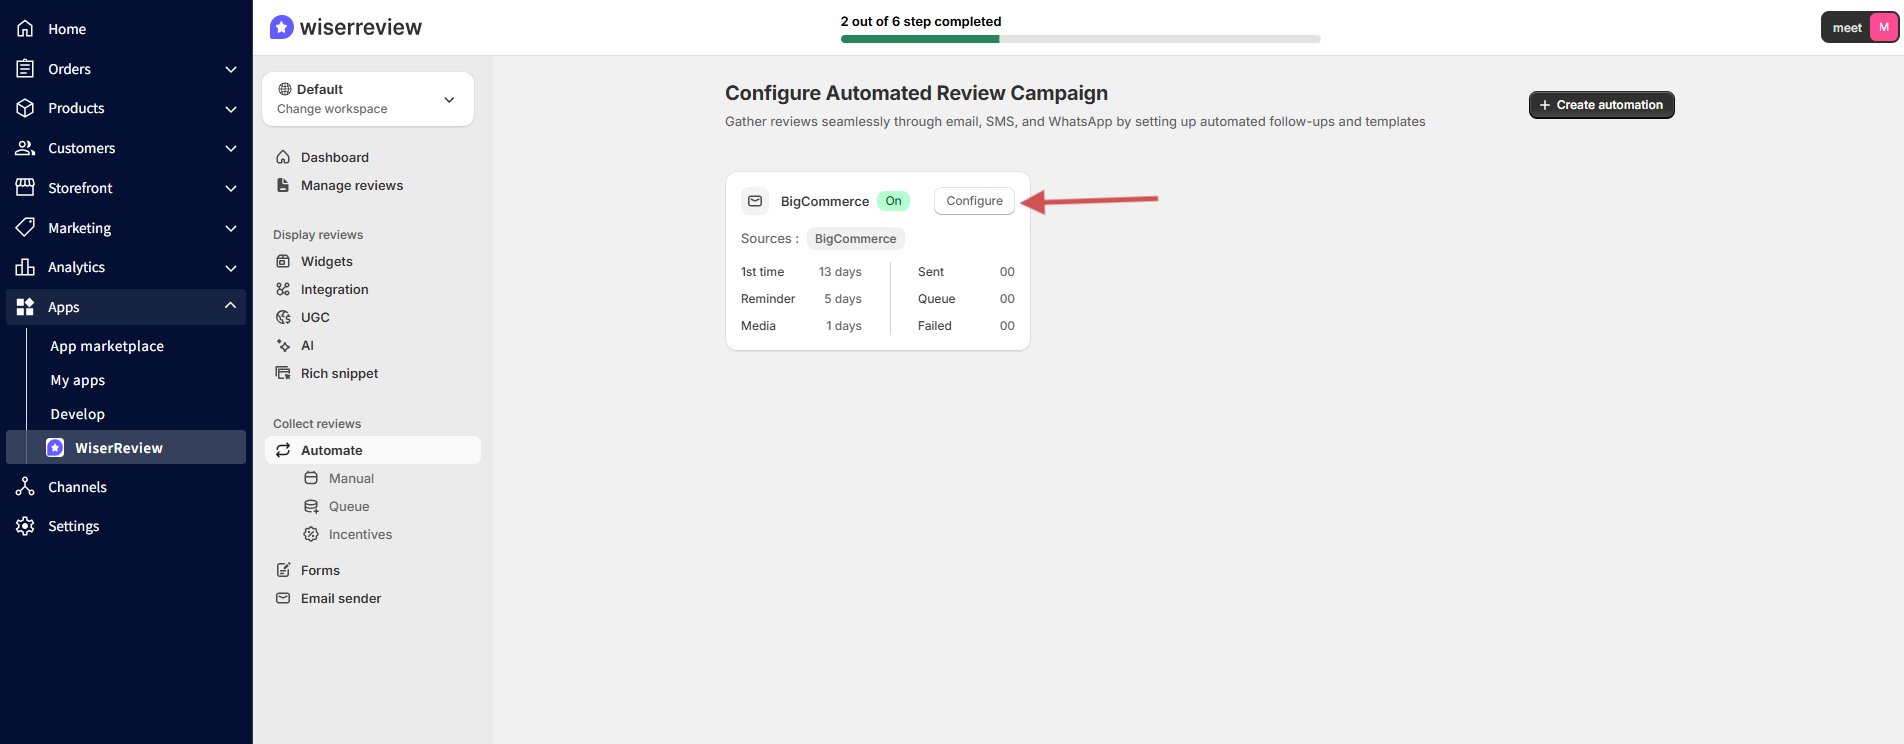
Note: After connecting your WiserReview workspace to BigCommerce, the review collection automation will be created automatically.
Detailed guide: See how review collection automation works
Step 4: Display Review widgets in Bigcommerce store
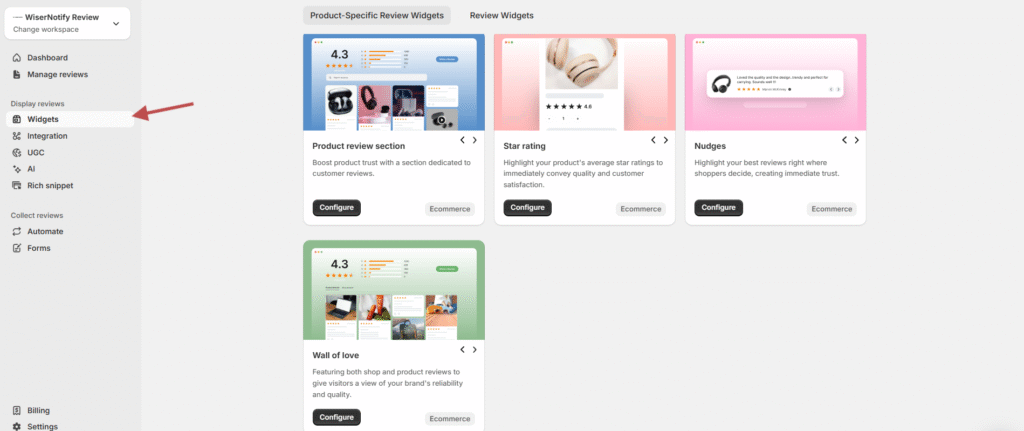
1. Choose Your Widget Type: In the WiserReview dashboard, go to Widgets and select the widget type you want to display (e.g., star ratings, review list, or photo wall).
2. Customize Widget Design: Customize the widget’s appearance, including color, layout, and size to match your store’s branding.
3. Copy Embed Code: Once the widget design is ready, click Save and copy the embed code provided by WiserReview.
4. Add Code to BigCo mmerce: In your BigCommerce admin, go to Storefront → My Themes → Edit Theme Files. Paste the copied embed code in the appropriate section of your product page template (usually near the product description or price).
5. Save and Test: Save your theme and check your product pages to ensure the review widget is displaying correctly.
Detailed guide: how to show review widgets in Bigcommerce store
Step 5: Product Grouping
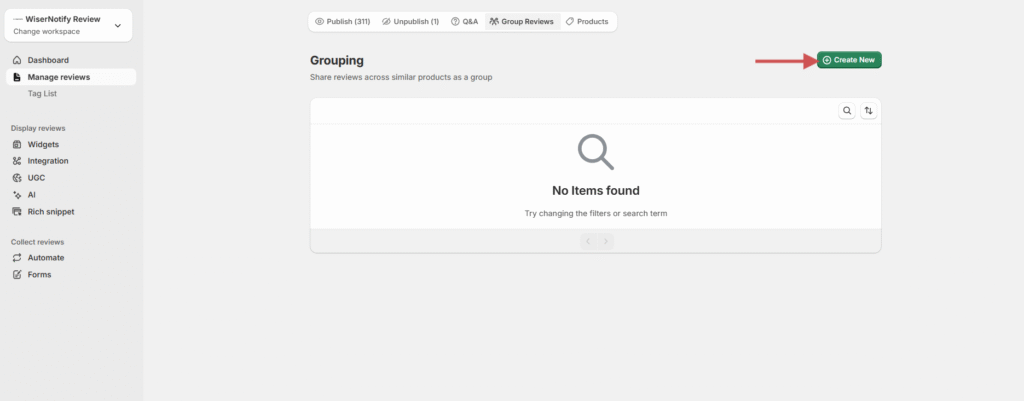
Combine reviews for similar or variant products (such as different colors or sizes).
Steps:
-
Go to Manage Reviews → Product Grouping.
-
Click Create Group.
-
Select and add related products.
-
Save the group.
Detailed guide: Product Grouping in WiserReview
Step 6: Integrate with Google Shopping
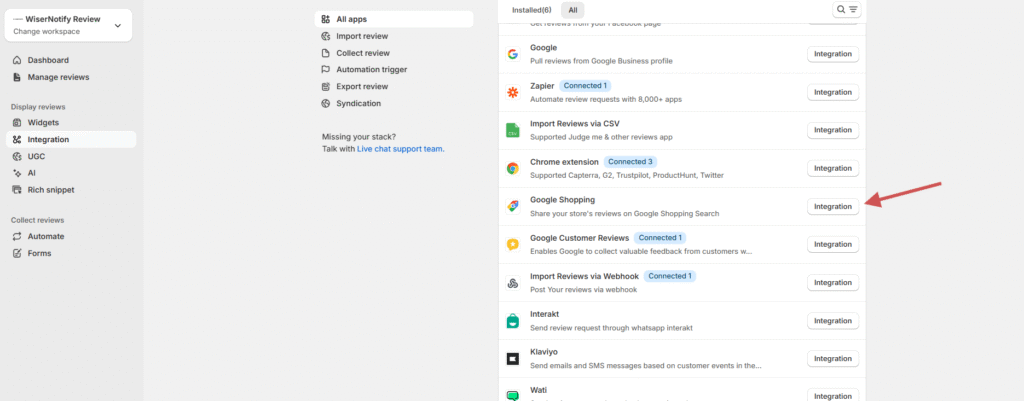
Connect your WiserReview account with Google Shopping to display product ratings in search results.
Steps:
-
Go to Integrations → Google Shopping.
-
Click Integration.
-
Generate the Review Feed XML.
-
Add the feed URL to your Google Merchant Center account.
Detailed guide: Connect WiserReview with Google Shopping
Step 7: Multi-Store Review Sync
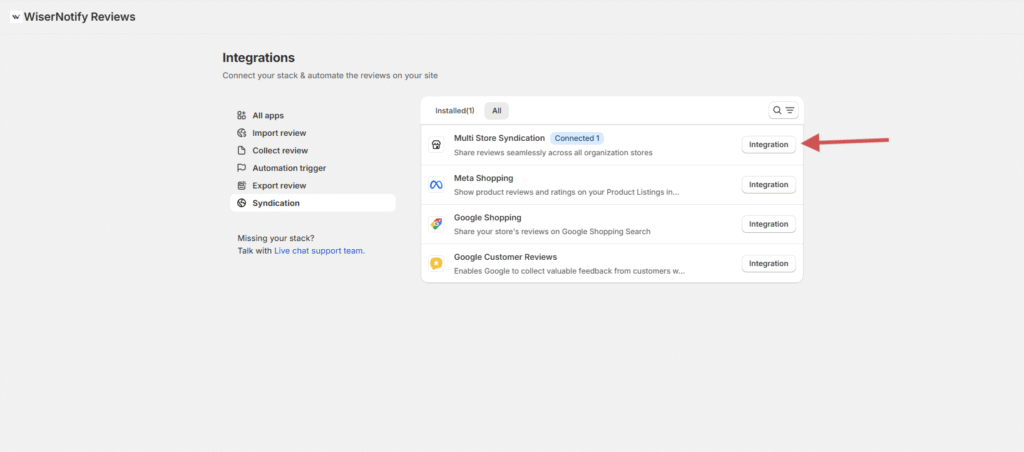
Sync reviews across multiple stores that share the same products or SKUs.
Steps:
-
Go to Integrations → Multi-Store Sync.
-
Connect your additional stores.
-
Verify matching SKUs.
-
Enable review sync automation.
Detailed guide: Multi-Store Review Sync Setup
If it’s still not working, please reach out to us through live chat support from your account or email us at krunal@wiserreview.com.